
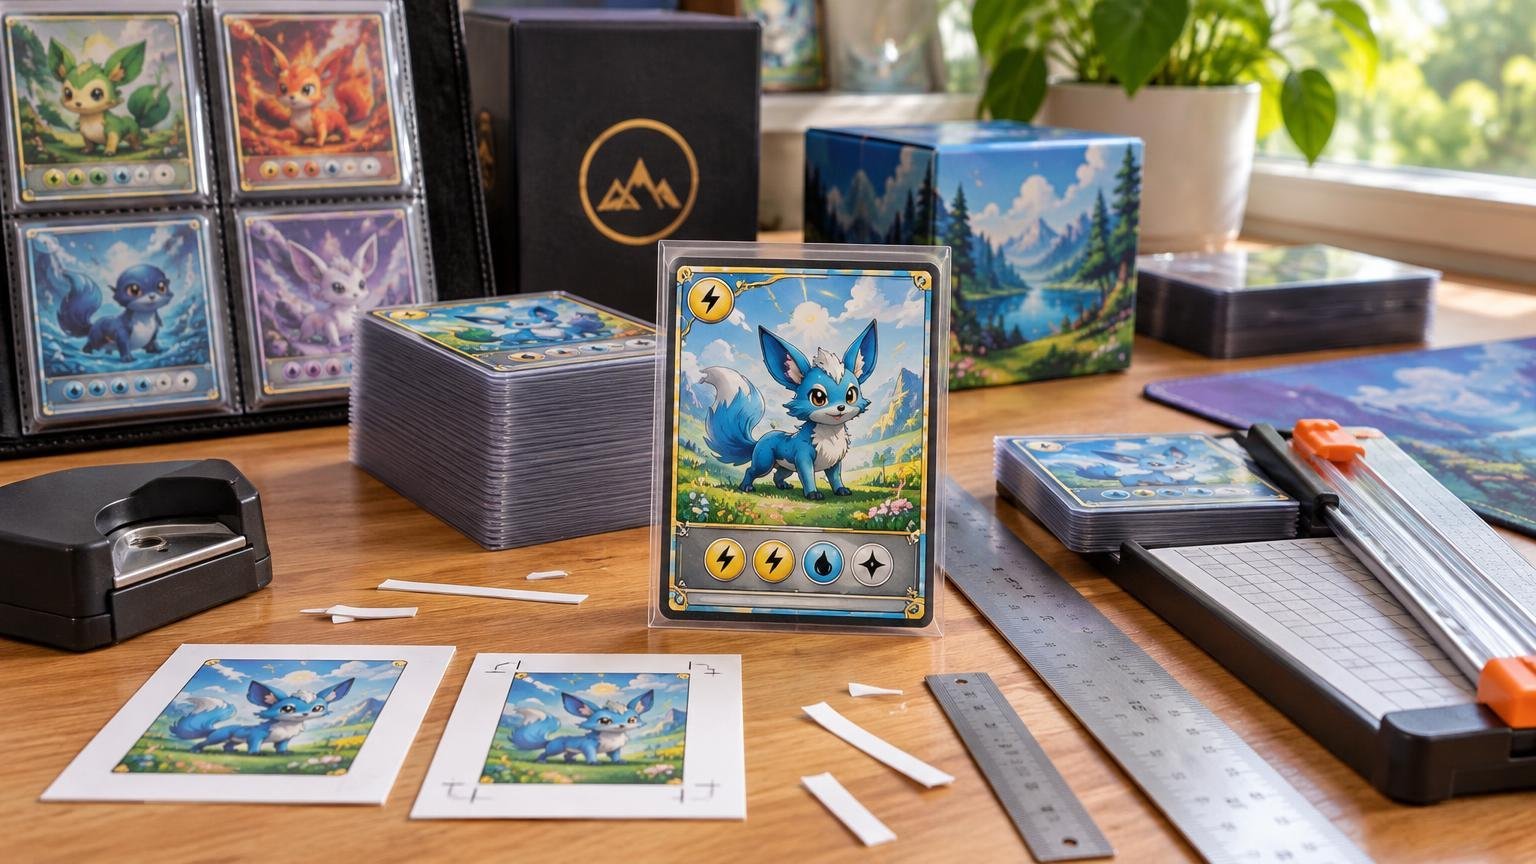
TLDR
For consistent Pokémon proxy cards, build the entire job around one master template and one physical reference card. Print without page fitting, confirm the first test card’s width and height, and then lock your cutter’s guides or stops in place. Cut only a small batch before checking cards from different points in the stack. Sleeve fit is useful, but it should not replace measurement: a sleeve can hide a small size difference that still affects shuffling or makes a card identifiable in the deck.
The practical target for a standard Pokémon card is 63 mm wide by 88 mm long. TCGplayer’s card-conditioning standard lists those dimensions and notes that the measurement excludes material removed by the rounded corners. TCGplayer’s Card Conditioning Standards Treat 63 × 88 mm as the rectangular trim target, then apply the same corner treatment to every card.
Consistency starts before you touch the cutter
Most cutting problems begin in the file or print dialog, not under the blade. If one sheet prints at a slightly different scale, even a perfectly positioned cut will produce the wrong result. Start with a single master layout at the intended final dimensions. Duplicate that layout rather than rebuilding card boxes on every page.
Add crop marks that share the same geometry across the sheet. Crop marks indicate where the finished piece should be trimmed, while bleed marks and registration marks have different production roles. Adobe’s explanation of printer’s marks in InDesign is useful if your design software presents several similar-looking options. A visible border around the artwork can also help you spot alignment errors, but the crop marks should remain your cutting reference.
Before printing a full deck, verify these settings:
- The document uses the intended paper size and orientation.
- Every card frame comes from the same master object or template.
- The finished trim rectangle is 63 × 88 mm.
- Any bleed extends outside the trim line rather than changing the finished card size.
- The print dialog uses 100% or actual-size output rather than fitting the design to the page.
- The paper size in the print dialog matches the size selected in the design software.
Cricut specifically warns against print-dialog options such as “fit to page” and “shrink to fit” for Print Then Cut projects. It also instructs users to match the selected paper size between the design software and the print dialog. The same principle applies when you plan to cut manually: page fitting can quietly resize every card and leave you trying to fix a scaling problem with the cutter.
Make one test card before printing the deck
Print and finish one test card using the same printer, paper, adhesive, backing material, and cutting method intended for the full run. A test printed on ordinary office paper can reveal obvious layout errors, but it cannot fully predict how a thicker finished card will feed, cut, round, or sit against a cutter fence.
Compare the test with a representative genuine standard-size Pokémon card. Check width and height independently with a millimetre ruler or calipers, then place the cards together to compare all four edges. The physical comparison matters because an on-screen preview and an “actual size” setting cannot confirm the final trimmed dimensions.
Inspect more than the outside dimensions. Ask:
- Are the top and bottom borders balanced?
- Are the left and right borders balanced?
- Is the printed face square to the cut edges?
- Do the front and back have the same orientation?
- Do all corners use the same radius and placement?
- Does the card lie flat after adhesive or lamination has cured?
- Does it sit at the same height as the reference card inside an opaque sleeve?
If the test is wrong, fix the source of the error before producing more sheets. Change print scale for a size problem, layout position for a margin problem, and cutter alignment for a trim problem. Adjusting all three at once makes it difficult to learn which change solved the issue.
Use fixed guides for manual cutting
Cutting every edge by eye invites variation. A fixed fence, stop block, jig, or firmly clamped guide gives each card the same physical reference. The exact setup depends on whether you use a guillotine, rotary trimmer, or craft knife, but the goal stays the same: replace repeated visual judgment with repeatable mechanical positioning.
Guillotine or rotary trimmer
Square the printed sheet against the cutter’s fence and make the long strip cuts first. After producing strips of equal width, use a stop set to the finished card height for the crosscuts. Confirm that the fence is square to the cutting path before relying on it for the full run.
Do not push a tall stack through the cutter merely to save time. Paper and layered card stock can shift, bow, or compress under pressure. Use batches small enough to stay flat and firmly registered against the fence. Keep hands outside the cutting path and follow the cutter manufacturer’s operating instructions.
Craft knife and straightedge
Use a stable cutting mat and a slip-resistant metal straightedge. Align the straightedge to common crop marks, hold it securely, and make controlled passes rather than forcing the knife through thick material in one stroke. Cut away from your body and replace a blade that starts tearing or pulling the print layers.
A knife setup benefits from a simple jig just as much as a trimmer does. Tape or clamp square guides to the cutting mat so each strip returns to the same position. The jig should reference the trimmed edge, not a nearby piece of artwork that may vary between card designs.
Electronic cutting machines
For Print Then Cut equipment, calibration is part of size consistency rather than an optional troubleshooting ritual. Cricut’s calibration workflow checks cuts against printed reference lines, allows iterative correction, and finishes with a confirmation cut. The company recommends recalibration when cuts become inaccurate. Cricut’s Print Then Cut calibration instructions
Run a test cut on a small piece of the actual project material after changing stock, finish, adhesive layers, blade, or machine settings. Cricut recommends testing the real material because settings affect cutting performance, and it allows frequently used custom settings to be saved. A setting that works for thin paper may drag, tear, or incompletely cut a layered proxy.
For broader explanations of custom printing, production methods, and print materials, Printiverse can help you explore the terminology behind the workflow.
Cut in small batches and check for drift
Once the first card is correct, resist the temptation to cut the other 59 without stopping. A guide can move, paper dust can collect against a stop, a blade can begin pulling the stock, or a stack can stop sitting square. Small batches limit the number of cards affected when something changes.
After each batch, select cards from the beginning, middle, and end. Measure both dimensions and compare the edges against the same reference card used for the initial setup. Also inspect the border and corner relationship. Sampling throughout the run is more informative than checking only the neatest card on top.
A simple production routine looks like this:
- Print one test sheet without page fitting.
- Finish one card completely, including backing and corner rounding.
- Measure its width and height against the 63 × 88 mm target.
- Compare all four edges with the same genuine reference card.
- Lock the cutter fence, guide, or stop.
- Cut a small batch without changing the setup.
- Check cards from the start, middle, and end of that batch.
- Clear debris and confirm the guide has not moved.
- Continue only if the samples remain consistent.
- Perform one final comparison before sleeving the complete deck.
If you expect to print the project again, record the file version, printer, paper setting, material stack, cutter-stop position, blade setting, and any machine calibration used. The note does not eliminate the next test cut, but it gives you a reliable starting point.
Treat corner rounding as a separate production step
A deck can have consistent rectangular cuts and still feel uneven if its corners differ. Use one corner-rounding tool for the whole project, orient every card the same way, and clear scraps before they interfere with positioning. Feed each corner fully into the tool rather than judging placement by sight.
Round the corners only after confirming the rectangular dimensions. If you round too early, the missing corner material makes edge-to-edge comparison harder. Keep one finished test card beside the tool so you can compare the shape and placement as the batch progresses.
Sleeve fit is a final check, not the measurement system
Opaque sleeves are the sensible home for a shuffled proxy deck. They hide differences between authentic card backs, printed backs, paper inserts, and backing cards. They can also make a modest cutting error less obvious during casual testing.
That convenience has a limit. A slightly tall card may catch near the sleeve opening, while a narrow card may move laterally. A thick or uneven card may remain identifiable by touch. If you are still deciding between simple inserts and finished cards, the comparison in paper inserts versus full-card Pokémon proxies explains how each option changes handling and repeated shuffling.
Sleeve all test cards in the same sleeve model and condition. Then square the deck on a table, fan it, overhand shuffle it, and draw from different positions. Watch for cards that sit higher, rotate more easily, catch at the sleeve opening, or create a visible step along the deck edge. Those observations reveal practical inconsistencies that a ruler alone may miss.
Fix the pattern, not each individual card
Repeated errors usually point to one part of the workflow:
| What you see | Likely source | What to adjust |
|---|---|---|
| Every card is too large or too small | Print scaling or master-template dimensions | Verify the template and print at actual size without page fitting. |
| Width is correct but height varies | Crosscut stop or sheet movement | Secure the stop and reduce the number of layers cut together. |
| Borders drift in one direction across a sheet | Print alignment or sheet registration | Check paper loading, crop marks, and the edge used to register the sheet. |
| Cut lines rotate across the card | Fence or straightedge is not square | Square the guide to the blade path before continuing. |
| Corners look different | Inconsistent corner-tool placement | Use one tool and seat every corner fully against its guides. |
| Later cards differ from early cards | Guide movement, debris, blade wear, or material drift | Clean the setup, recheck the stop, and make another test card. |
Do not trim individual cards repeatedly to chase perfection. That usually creates a collection of slightly different dimensions. When several cards share the same fault, stop and correct the template, printer, or guide. Reprinting a small batch is often better than turning a predictable error into 12 unique ones.
Uniform cuts support better casual deck testing
A consistent deck lets you concentrate on opening hands, setup speed, Energy access, Evolution lines, and matchup decisions instead of wondering whether you recognized a card by its edge. That is especially important when you use proxies to test a complete list before buying genuine copies. The Pokémon proxy deck-testing workflow covers what to observe once the physical deck is ready.
Uniform cutting does not make unofficial cards legal for official tournaments. The Play! Pokémon tournament rules define a marked card as one with a characteristic that makes it identifiable without seeing its face. The cited handbook also requires sleeves in a tournament deck to have the same design, condition, size, and texture, and recommends opaque-backed sleeves because clear sleeves can reveal card-back imperfections. Play! Pokémon tournament rules Pokémon proxies remain materials for casual play, home testing, and collecting rather than official tournament cards. For a broader introduction to appropriate use, see the guide to Pokémon proxy rules and etiquette.
The best cutting setup is the one you can repeat
You do not need industrial equipment to make a uniform casual proxy deck. You need a controlled sequence: one master template, correct print scale, common trim marks, one finished test card, fixed cutting references, small batches, and repeated checks against the same physical sample.
Measure before rounding, inspect after rounding, and test the completed cards in matching opaque sleeves. When something changes—material, printer, blade, adhesive, layout, or machine calibration—return to the test-card stage. That habit costs a few minutes and can save an entire deck from becoming a stack of almost-matching rectangles.